
Carve Out Process
This guide will explain how to process and create carve out orders.
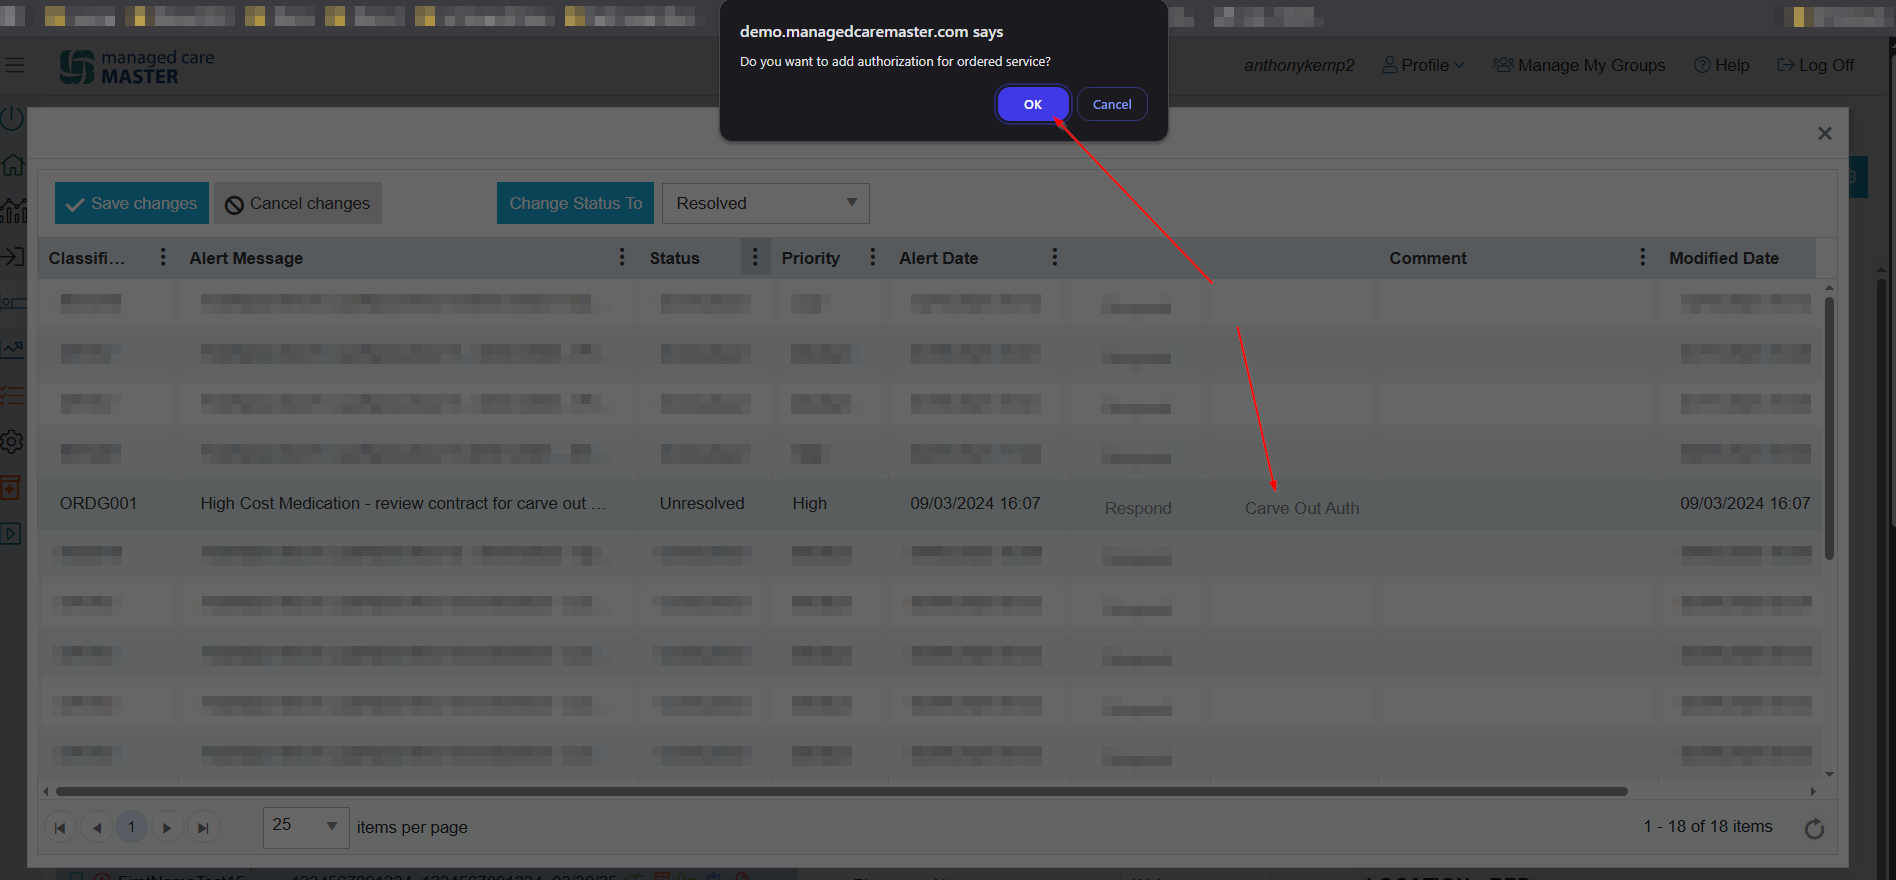
Alert Menu Carve Out Process
When a Carve Out alert appears, go to the Alerts menu, click the Carve Out Auth button, then click Add.

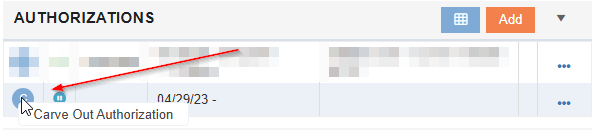
The Carve Out will now display in the Authorizations tile.
How to Locate the Order
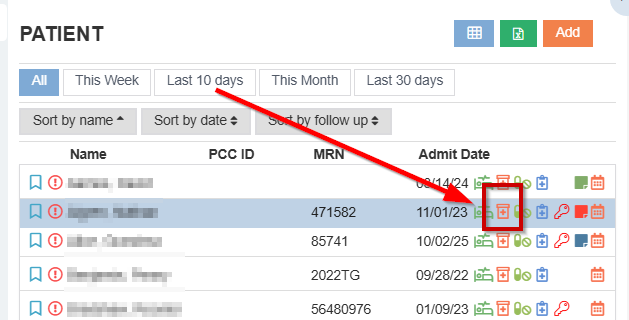
Navigate to Admissions
Select your patient from the Patient list
Select Orders (pill bottle icon next to patient’s name)
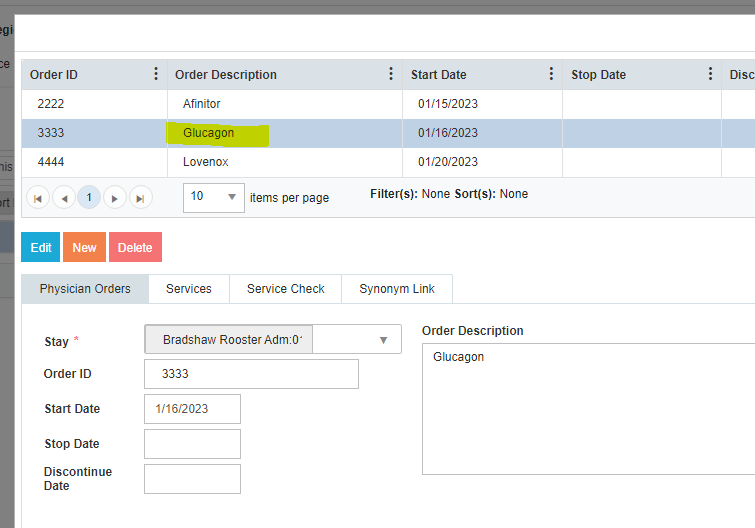
Locate the correct order
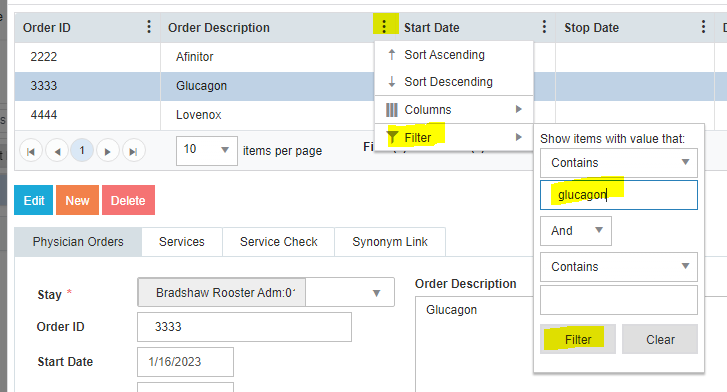
Search for the medication name by clicking on the ellipsis of the Order Description column and select Filter
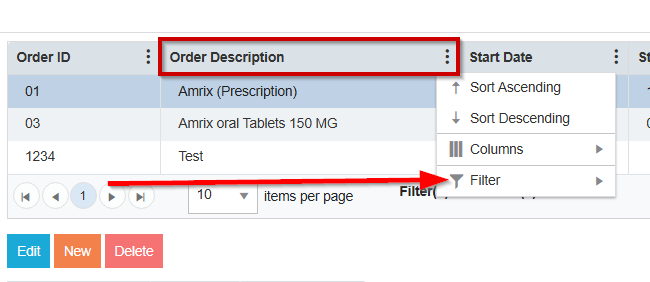
Enter medication name in blank field and select the Filter button at bottom
Editing the Order to Allow for the Carve Out
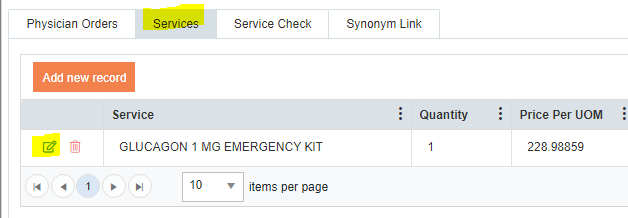
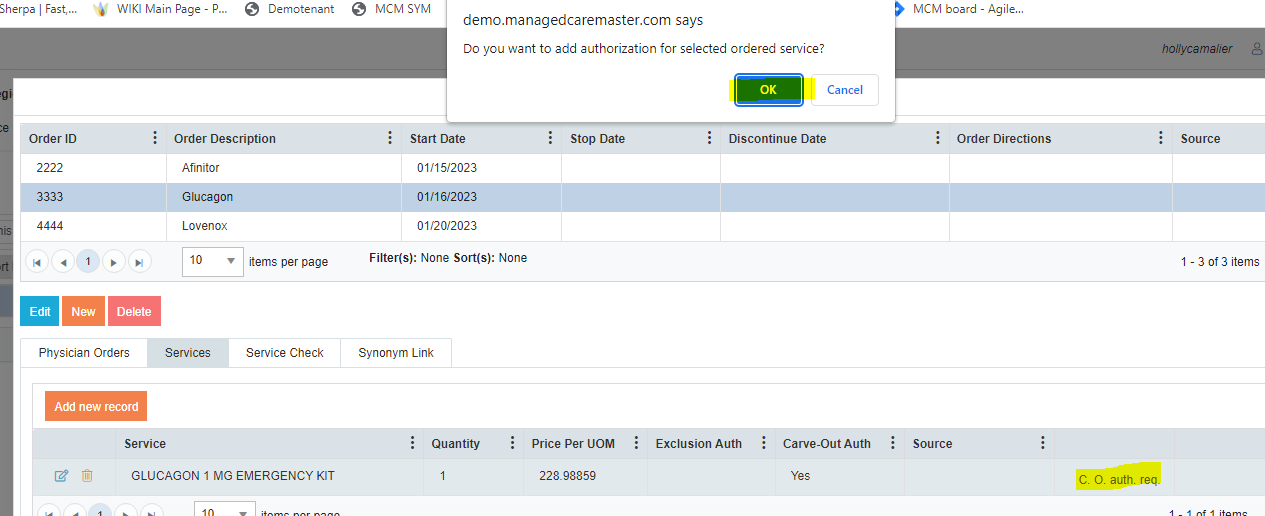
Select the Services tab, then select Edit
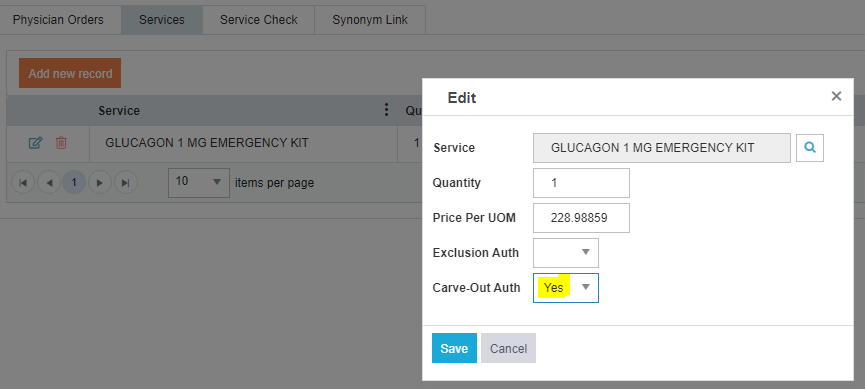
Change the Carve-Out Auth drop down to display Yes
Select C.O. Auth Req then confirm OK on the pop-up window
This automatically creates an authorization place-holder on the Authorizations tile. If you forget to do this step, you can manually create the Carve-Out Authorization in the Authorizations tile.
Close the Orders pop-up window
Refresh the Authorizations tile (click twice on the gray triangle)
The pending Carve-Out authorization will show as a C

Contact the payer to request the carve-out (follow your company’s procedure for this step)
Adding a Payer Response to the Carve Out
When payer responds:
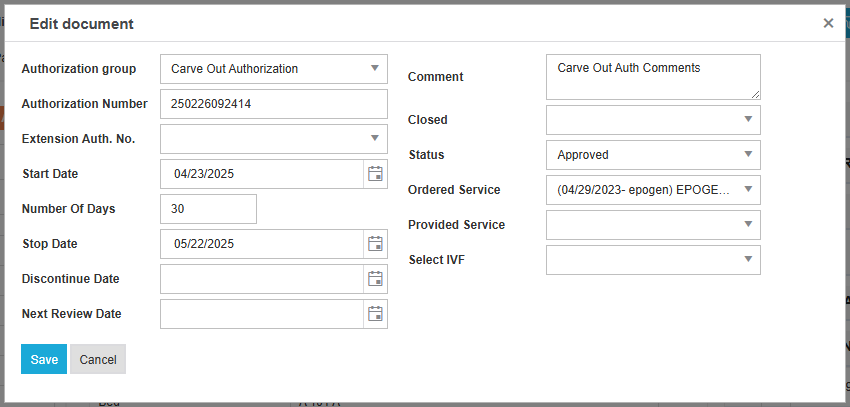
Add the remaining details of the authorization
If approved, add the Authorization Number, Number of Days, any additional comments, change Status to Approved, select the appropriate payer from the Select IVF drop down. Save your input.
If denied, do NOT enter an Authorization Number, add comments if applicable. Adjust the Status to Rejected, and select the appropriate payer from the Select IVF drop down. Save your input.
Carve Out Reports
Navigate to Reports, select Carve Outs
Change the filters to the appropriate selection
Refresh to view the report
